Bending the sides

Well I’m pretty excited to be finally getting started on my very own guitar. In 17 years, YES, 17 years, as a guitar builder, I’ve never taken the time to build a guitar just for me. Over the next few months, I’m going to do my best to get all the photos I can so you can see every step along the way. Sometimes I do get in a groove and forget that I should stop to take a picture, so I apologize if I skip something.
This is the beginning step for this build. I’ve chosen the set of Brazilian Rosewood that everyone seemed to love so its time to bend the sides.
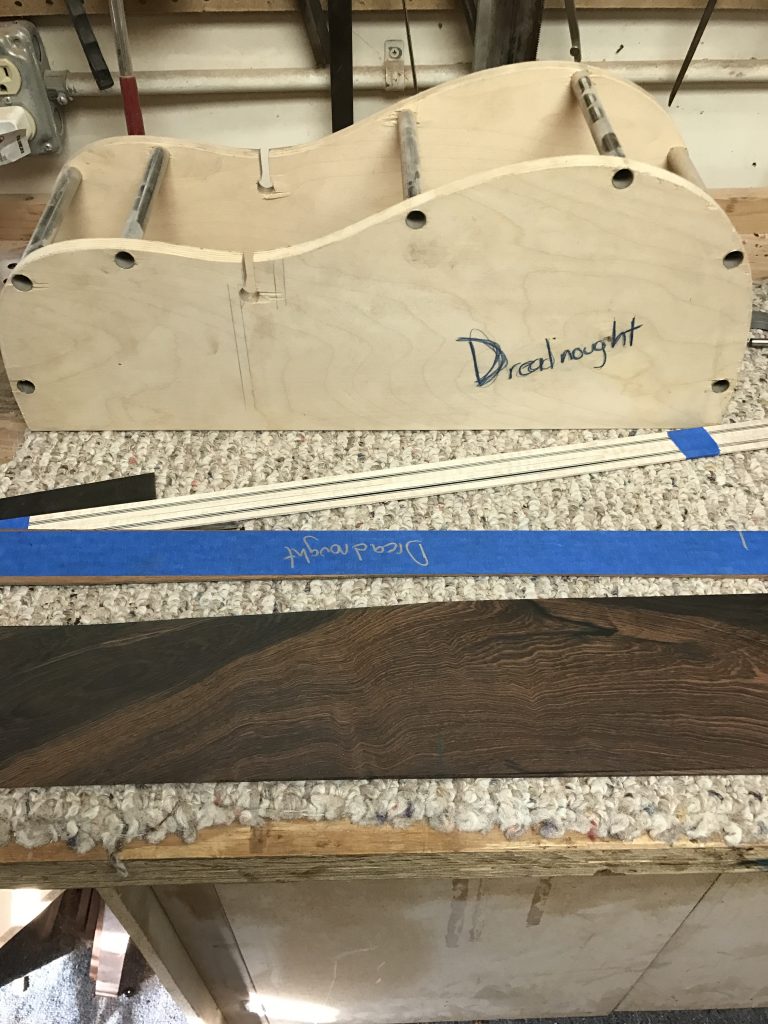
Here you can see the Interior mold for a Dreadnought body shape. I’ll be honest, a Dreadnought isn’t really what I would prefer to build, but its the largest body shape that will fit on that set of Brazilian Rosewood, and I just can’t stand the idea of any scrap wood in that fine material, so I’m going big, with a Dread
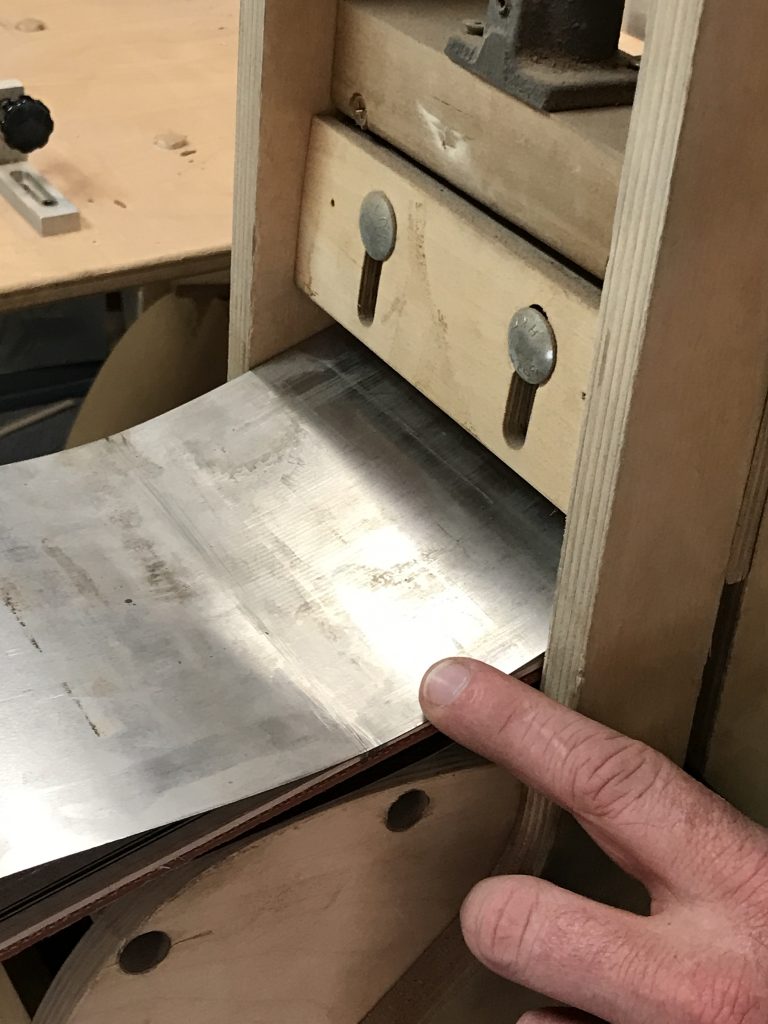
This is a shot of the first side that I will bend. Beautiful wood, indeed. And you can also see that I’ve prepped the binding, the Curly Maple that will be bent at the same time as the side.
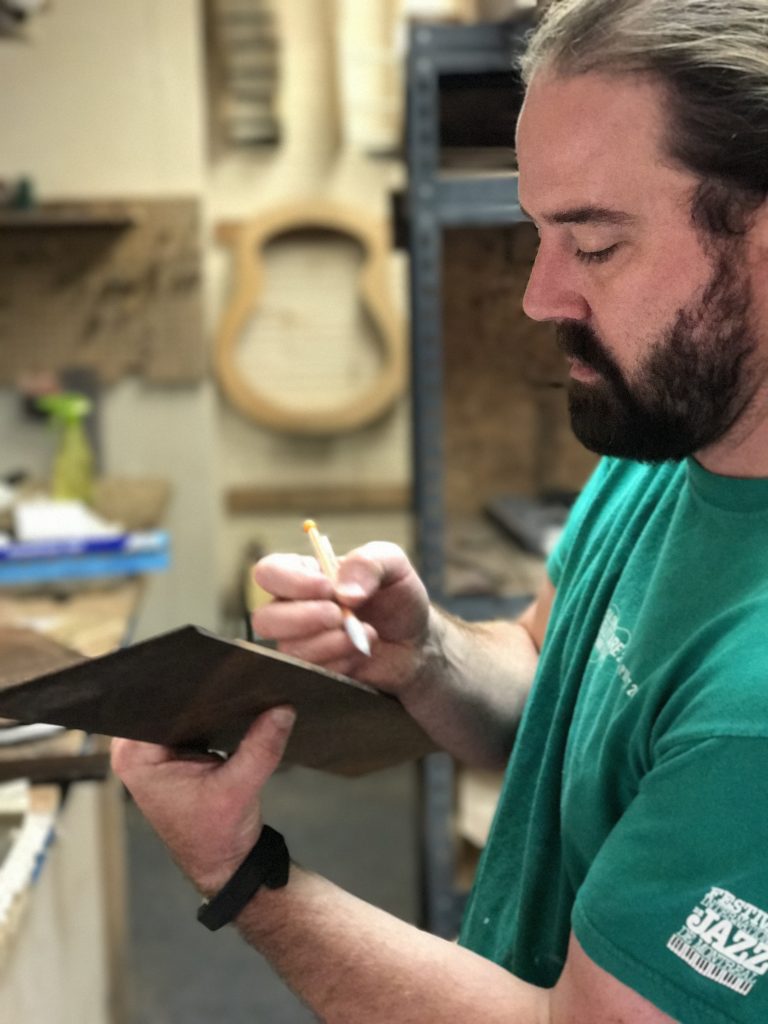
I look a little too serious here don’t I. In this photo, I’ve measured out several specific points to be sure that the sides bend properly and the same, from side to side. Also, I have shaped the sides prior to bending to ensure the body depth dimensions are as I would like. In this case, I’ve gone a little deeper that I normally would with a Dreadnought, but with Brazilian Rosewood I’ve never experienced a hint of muddiness in the tone, so I’m going for that little extra bass range. I’ll be sure to take a few extra steps to keep the clear articulate sound that we are really known for.

Okay, so we are ready to go! I’ve just added a good bit of water to the side before it will go into the foil and be ready to bend. The water will turn to steam and will enable the fibers of the wood to stretch
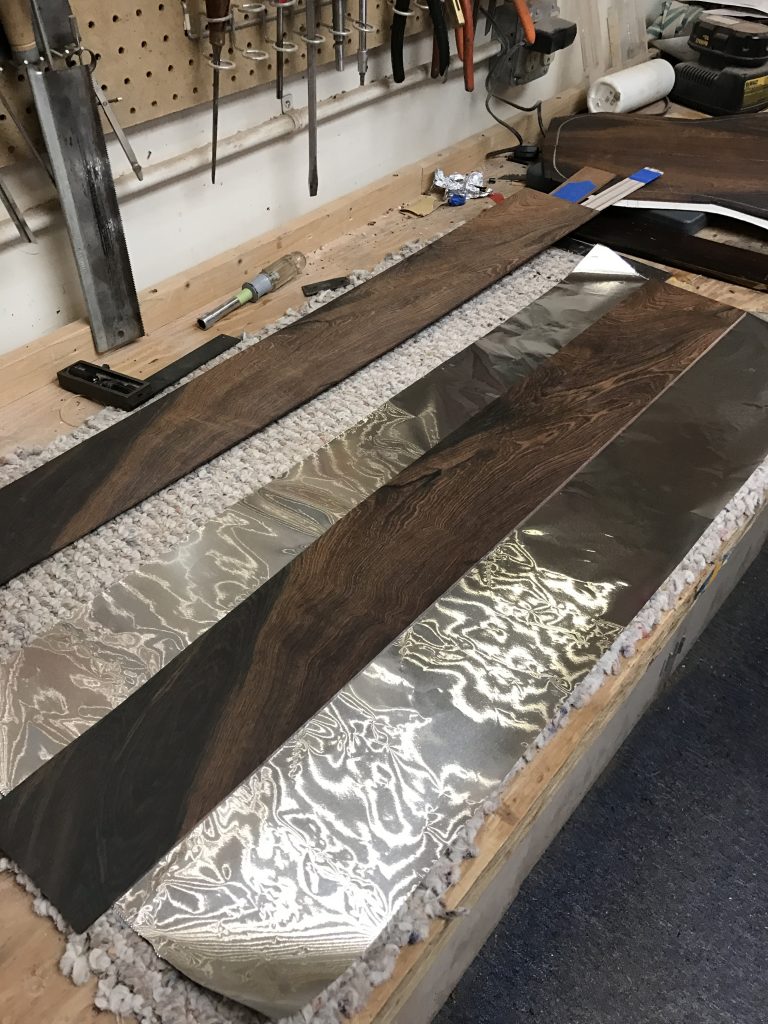
I’ve set up the foil in a very clean manner. There are a few things going on here, I want to be sure there are as few wrinkles as possible in the foil because they will transfer into the side and cause a bit more sanding. But the real thing is that I want this beautiful piece of wood to know its important to me, and that I respect it.

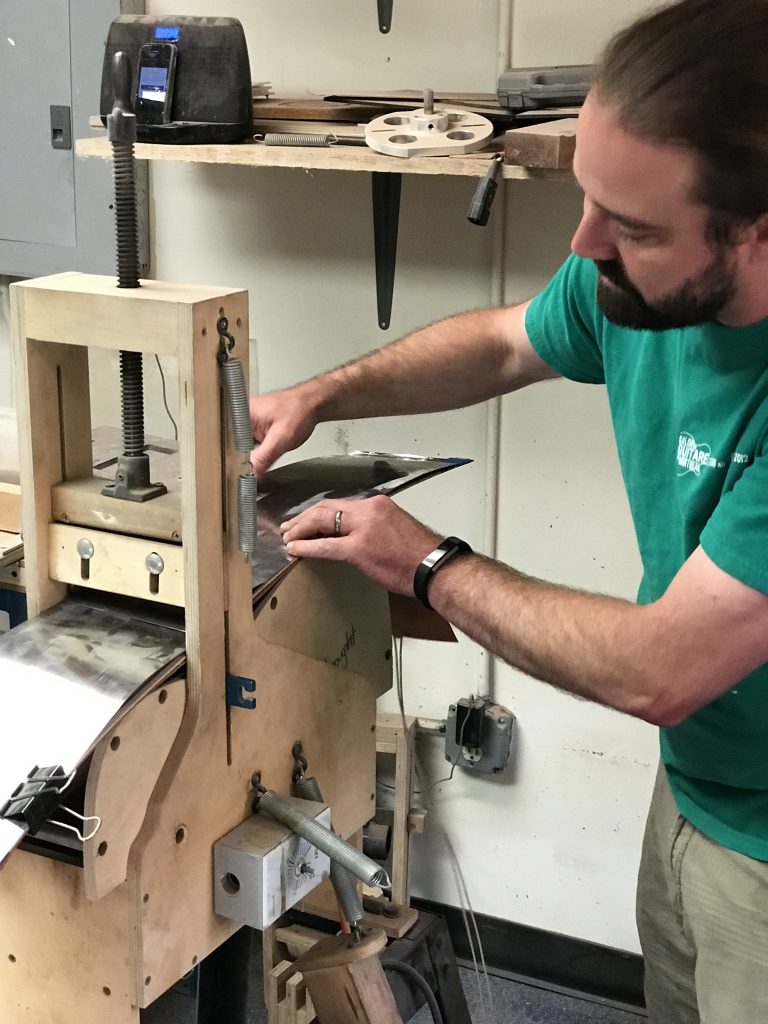
All wrapped up, and the particular points of interest have been transferred to the foil. And the Binding will now be attached to the straight edge of the side. I do not include the binding in the foil because the oils from the Rosewood would discolor the Maple, and because the two woods prefer different amounts of water to bend well.
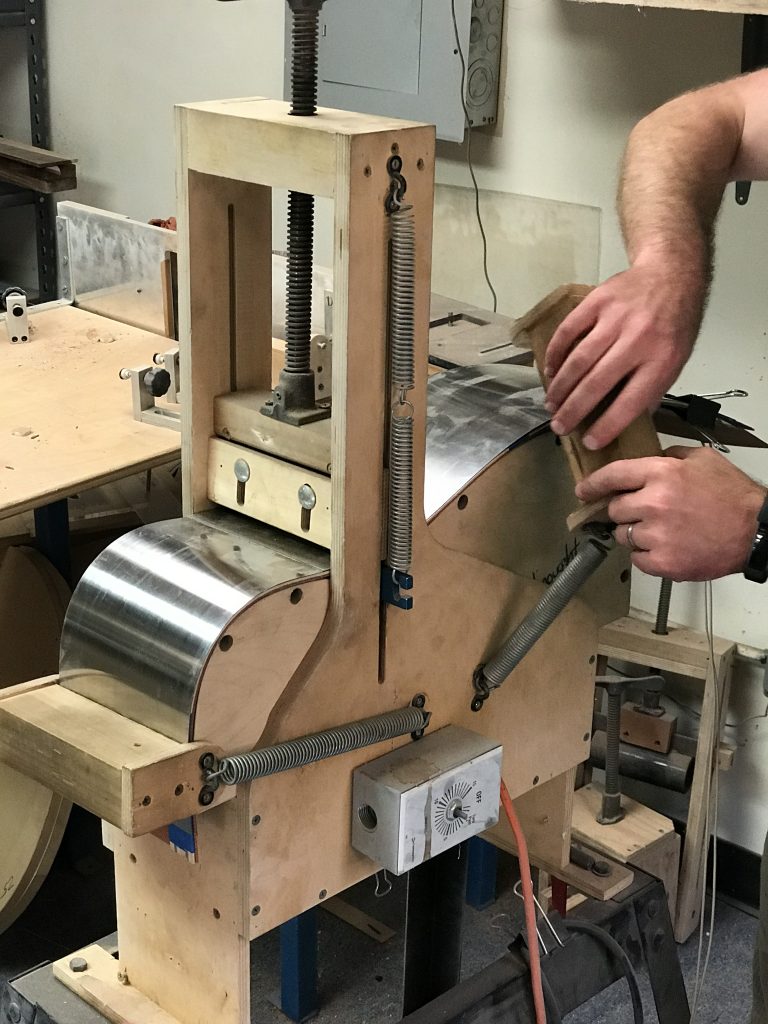
Indexing the side and binding with the spring steel slats. This is all sandwiched with a heating blanket.
At this point, the heat is sizzling and crackling as the water turns to steam. Its all about the ears, my ears, listening to the behavior of the heat as it interacts with the wood and water. Its ready to bend.
The center shoe goes down first, in the waist of the guitar, but not all the way. I leave just a bit of room while I bend the upper and lower bout.
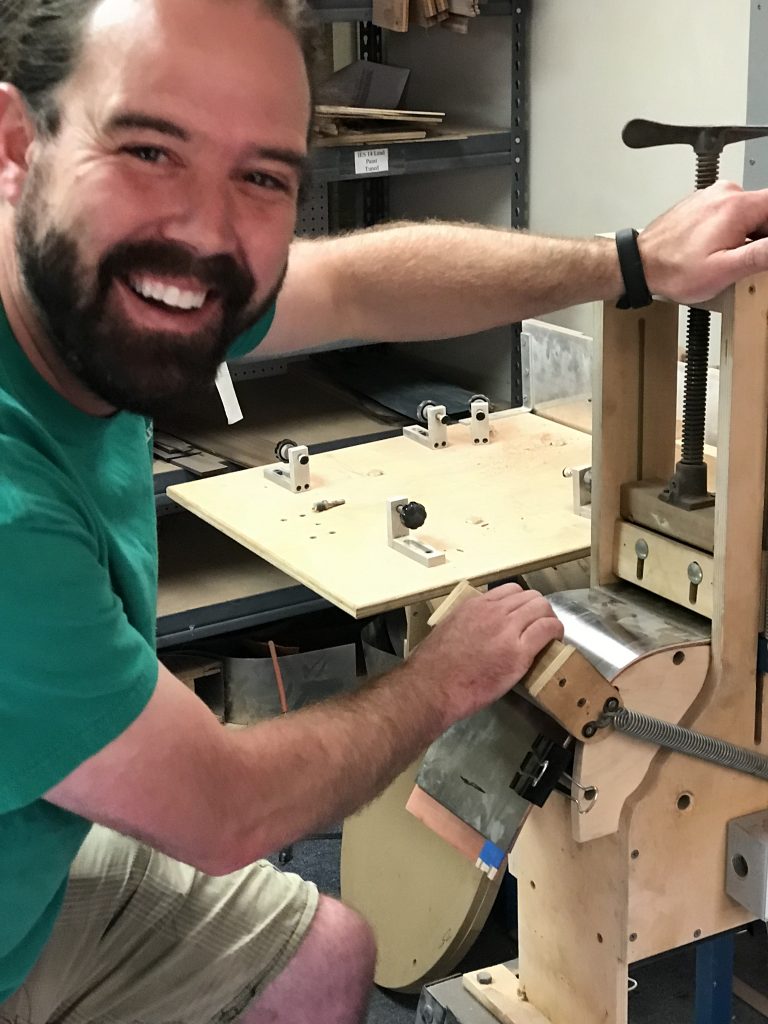
Dan! I’m trying to focus! Get the damn camera out of here.
So, here I am pulling the shoe over the upper bout slowly bending the wood into form. I’m also pulling the shoe in a fashion that is like a squeegee, to remove any excess water. This just helps to dry the side more quickly
And now onto the lower bout.
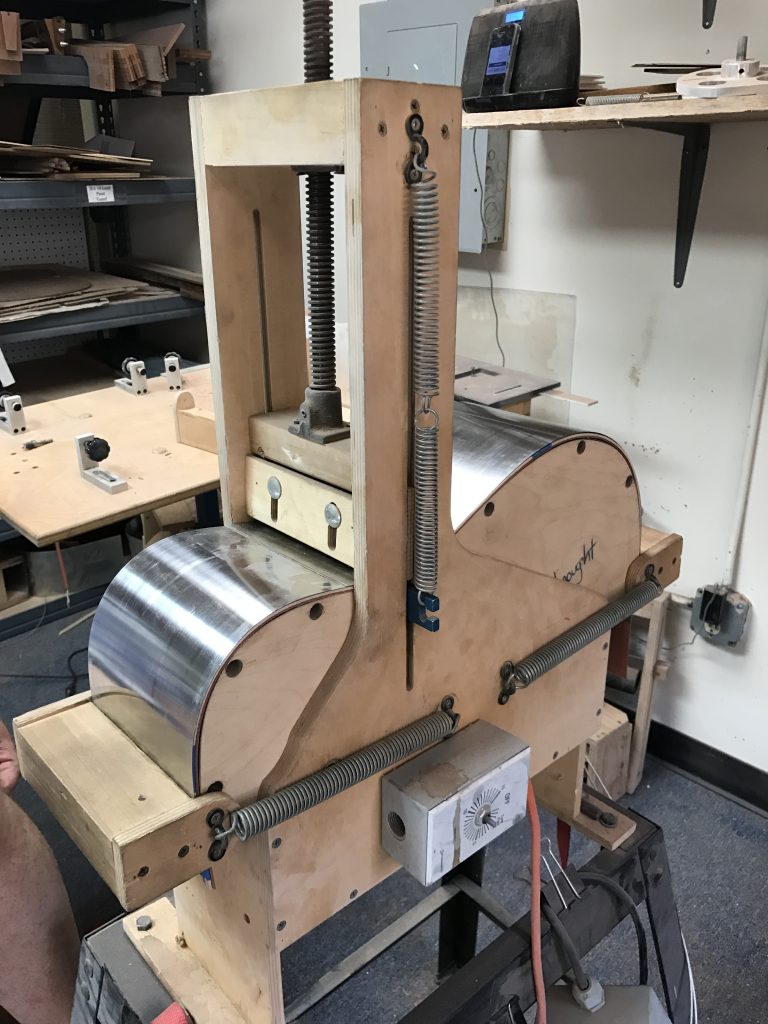
And lastly, I’ll bring the middle shoe all the way into place and cinch the whole baby down in place. Boom, done.
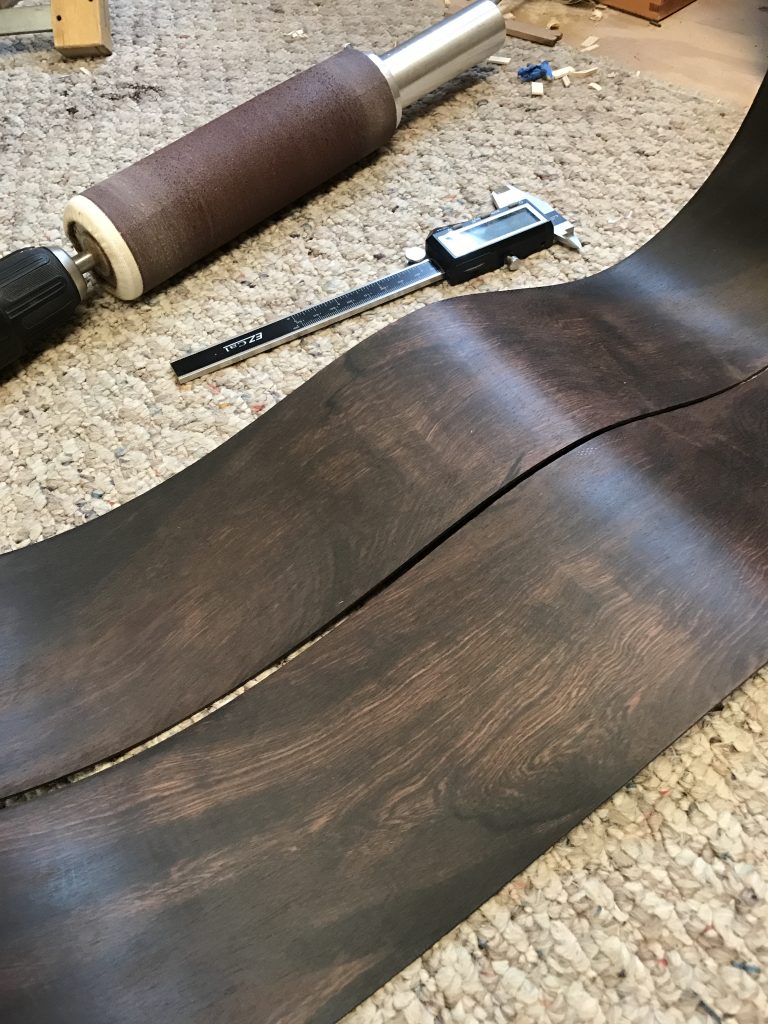
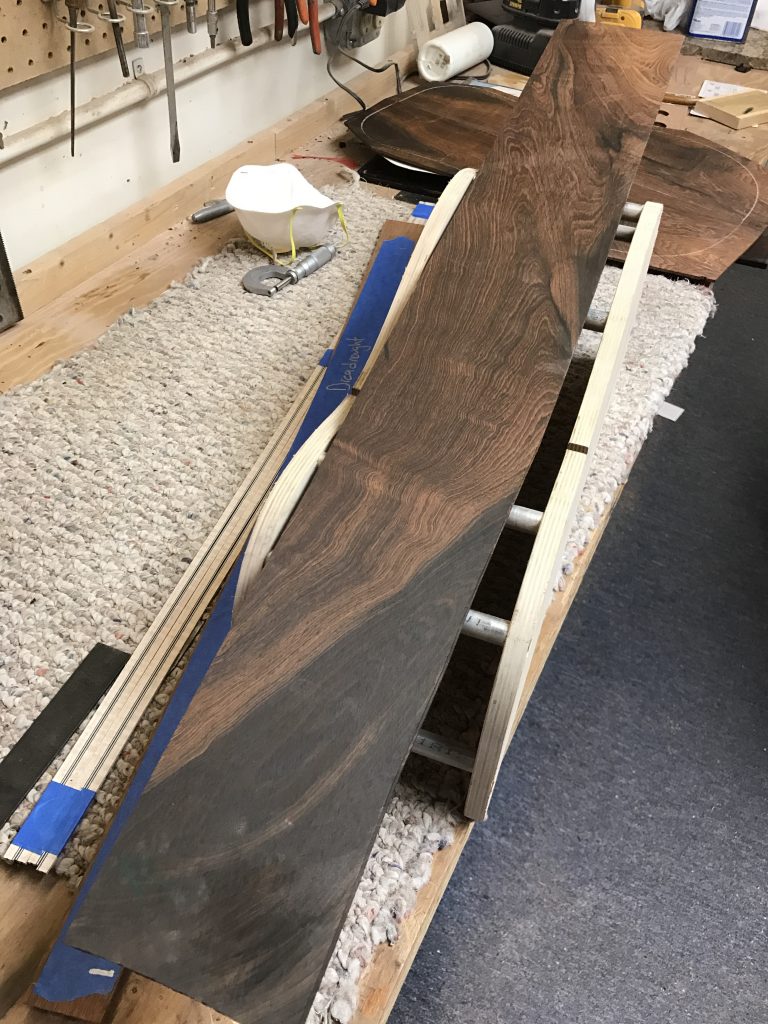
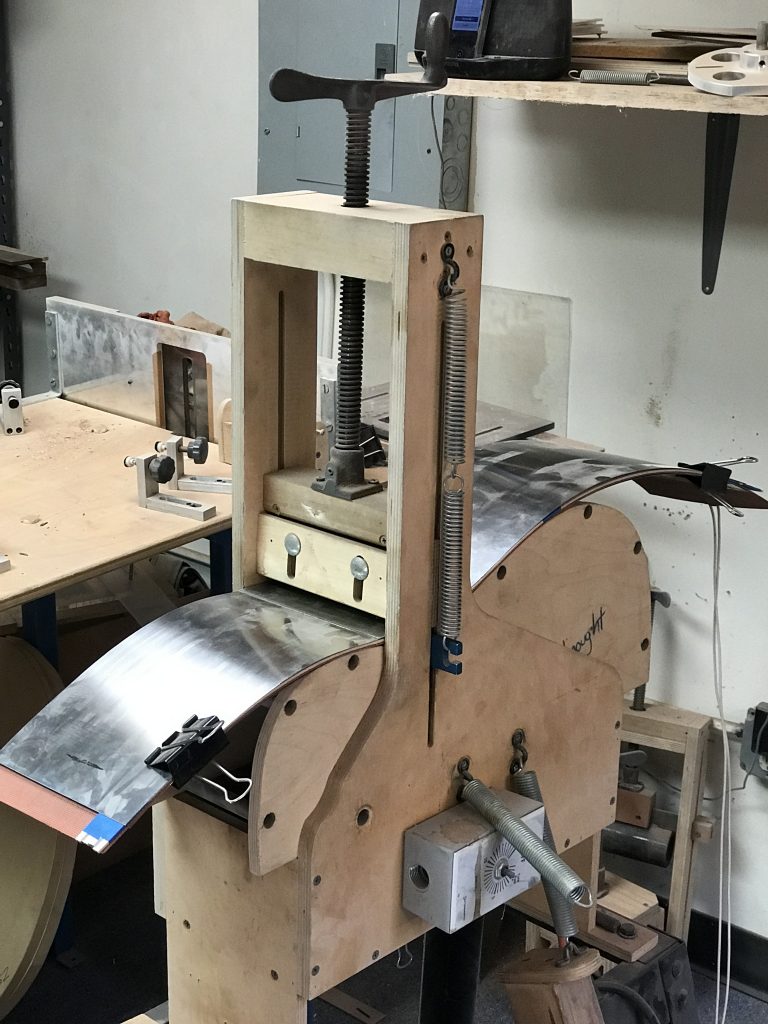
At this point, I have bent both sides and have pulled them from the bender, peeled back the foil and have a nice set of bent sides. There was quite a bit of oil, more than I have ever seen, in this set of Brazilian Rosewood, but the sides are beautiful and already making music with every touch of the hand. You can just rub your fingers against the wood and hear a chime of tone.
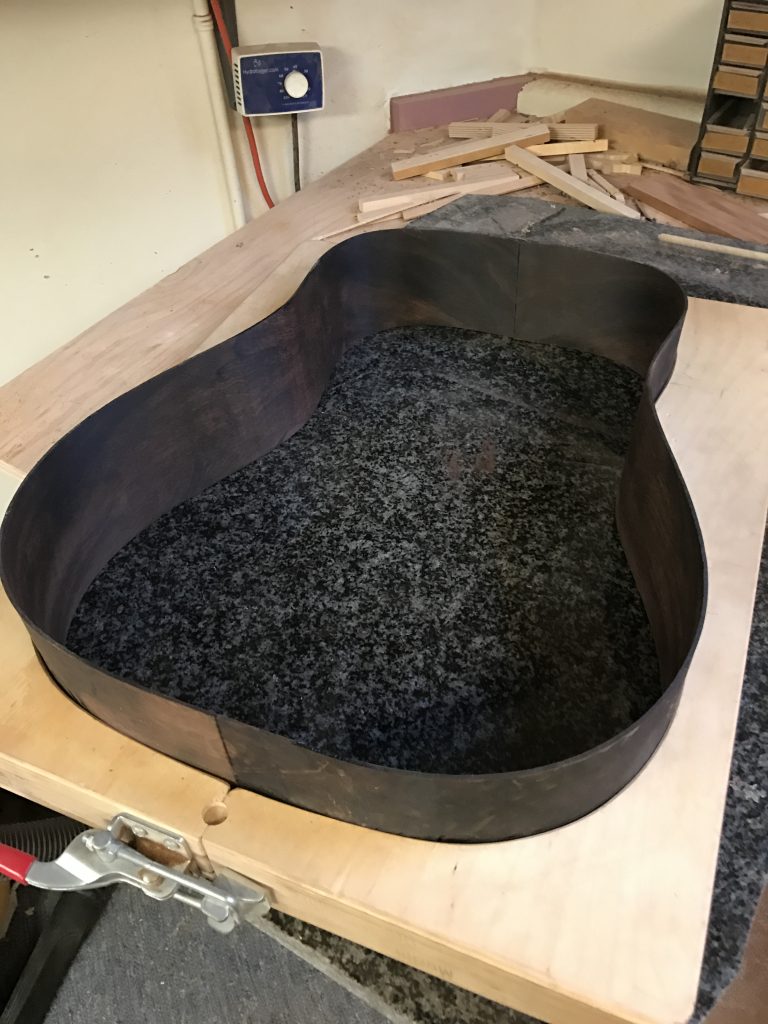
The Sides are fitted into the exterior mold and are ready to come together to form the completed rim.
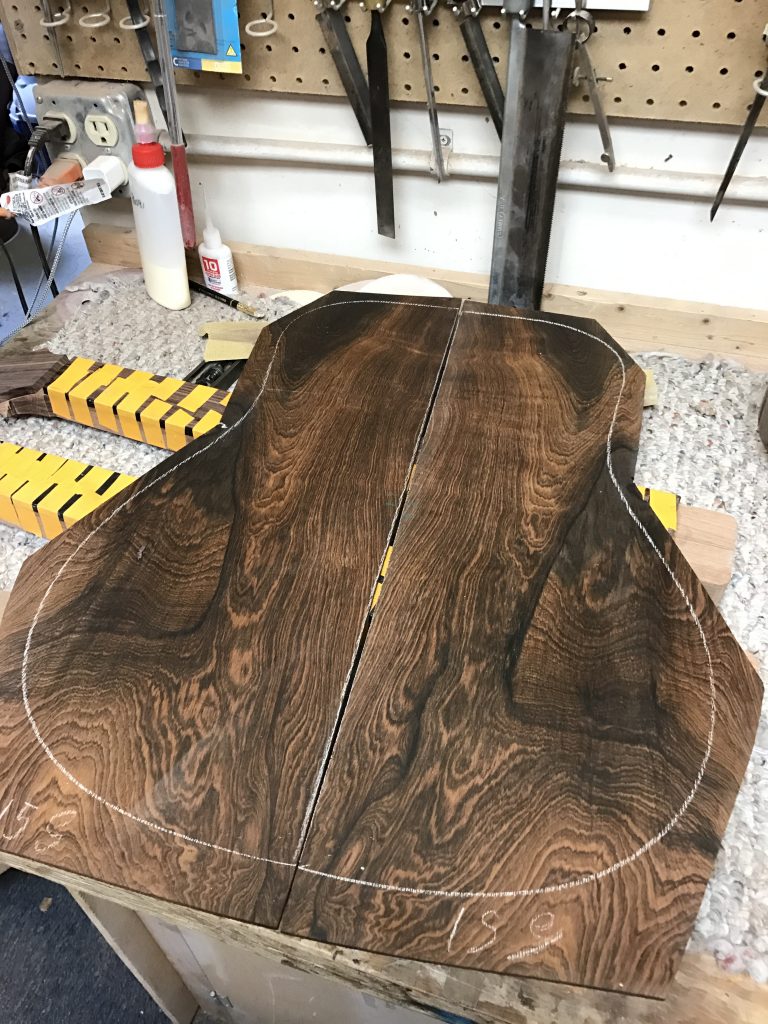
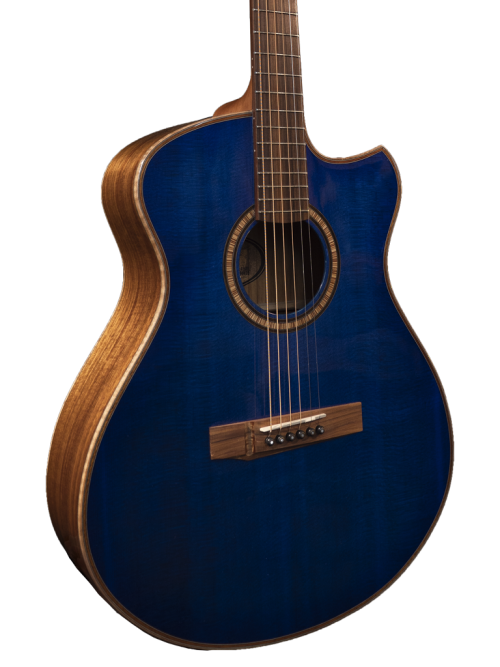
This is the back that you choose!
Okay, so that was a pretty good amount of work for the week. I’m going to do my best to get into the shop for ME time next week too. Keep your eyes out for the next steps. I’m thinking I will build out the back next and complete the rim. Both can be pretty complicated processed, so I’ll explain as best I can along the way.