My Guitar: The Rosette
Okay! I was able to get the rosette installed on my guitar! Finally, I’m moving forward again.
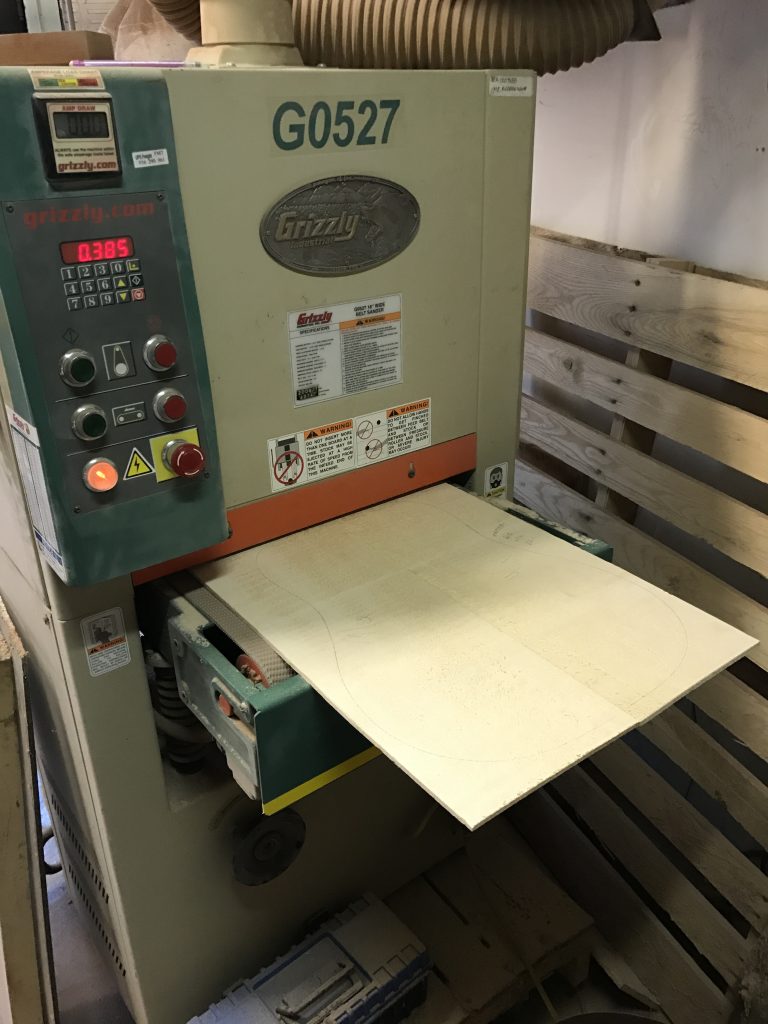
After I joint and join the top of the guitar, I will thickness sand the top down to the point that I have a nice clean surface. This is important because if you don’t realize you still have a mark from the bandsaw, you might have to take extra off which can make the rosette very thin.
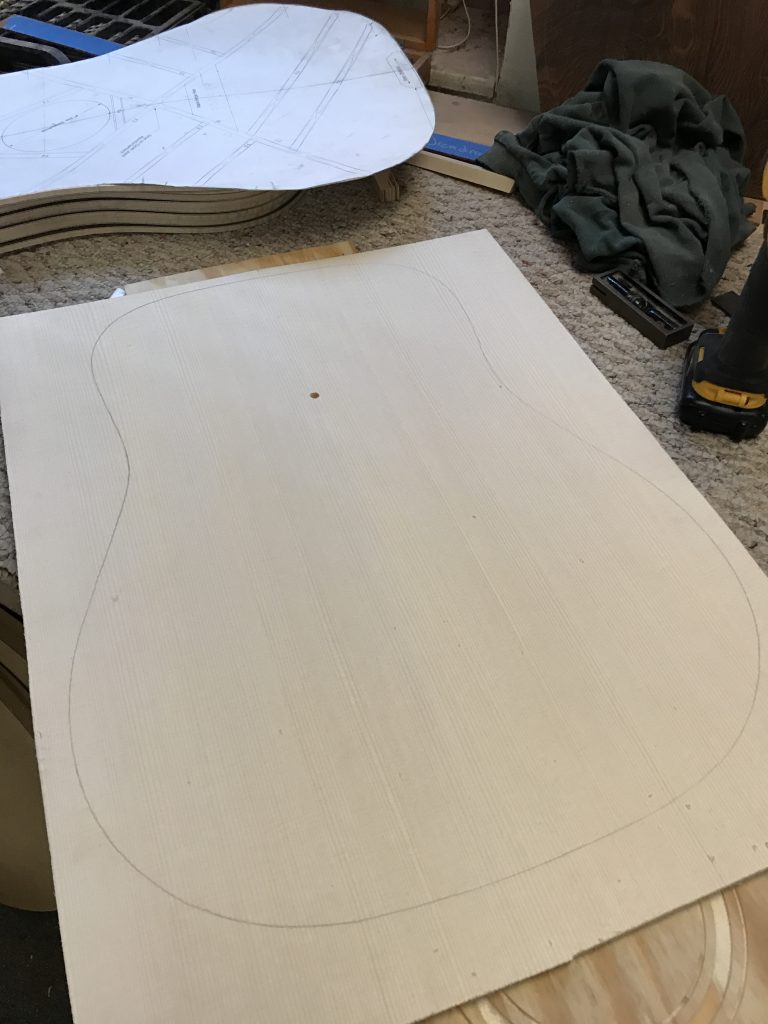
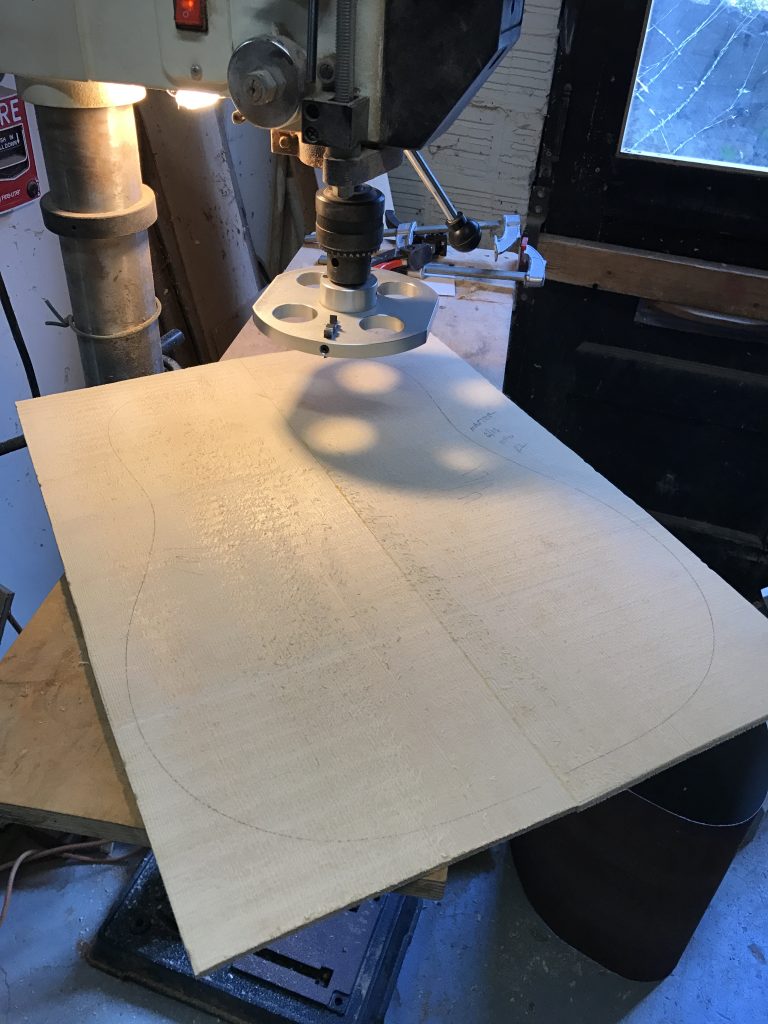
After the top is cleaned up, I draw the guitar outline on the board, then drill a 1/4″ hole in the center of the sound hole.
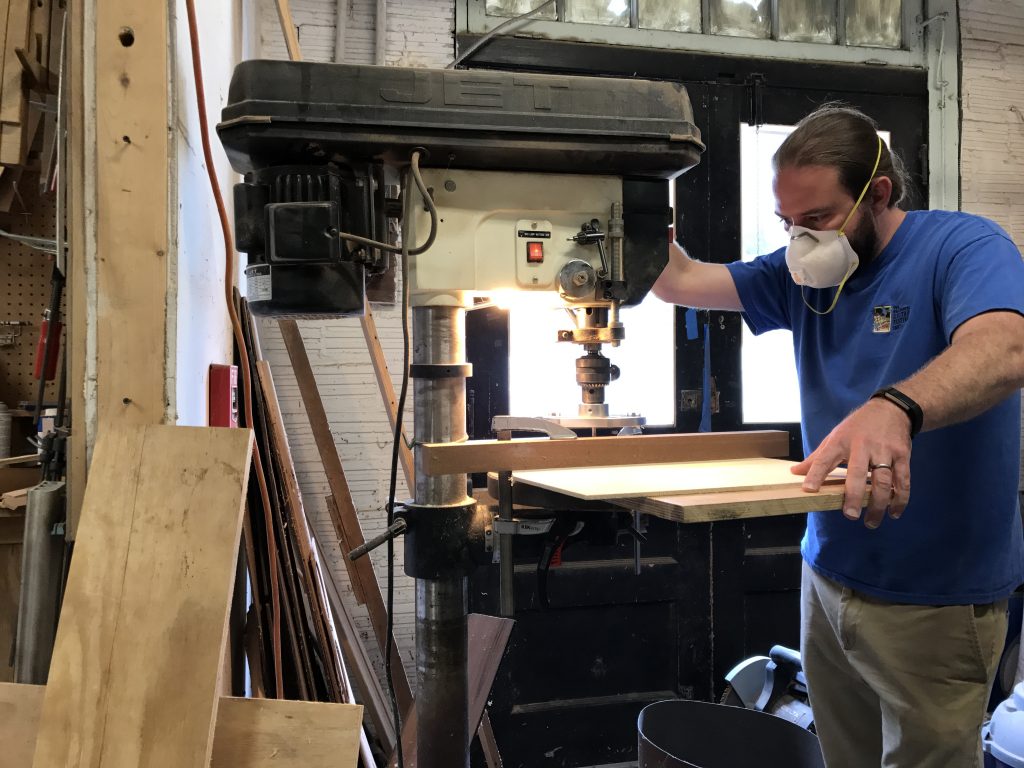
This is the cutter head that is used in the drill press. Important to be a little careful on this step. I’ve lost a few tops to this tool in the past.
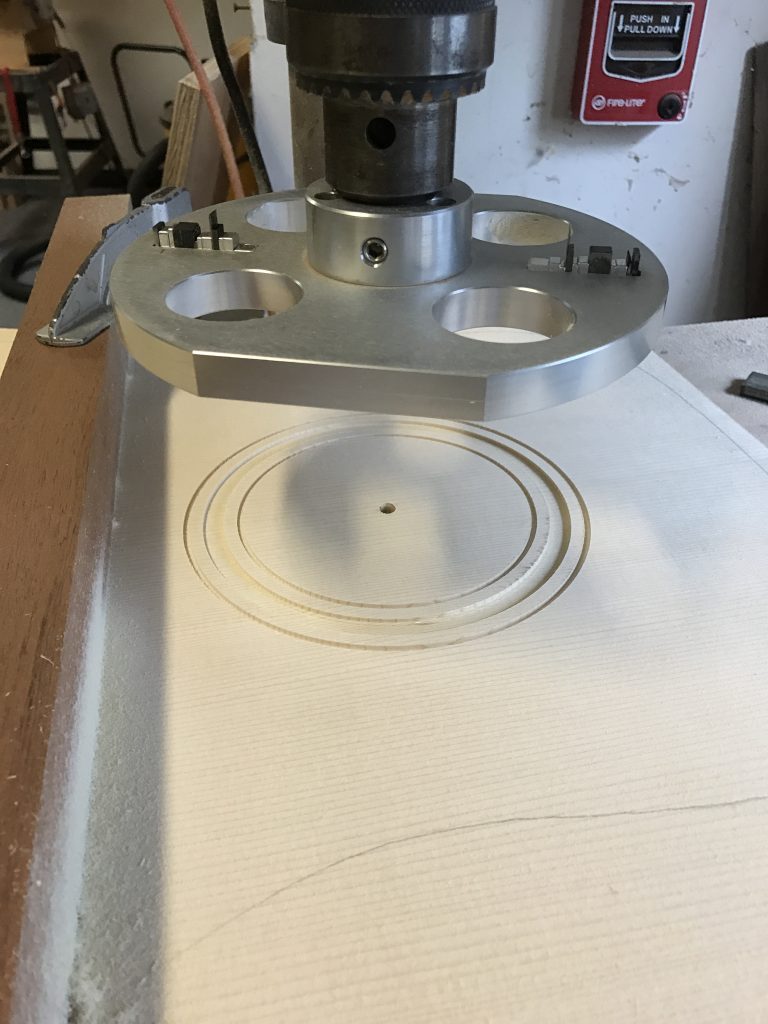
You can see that this tool will cut a perfect pocket for the rosette to be inlayed. I set this tool up to be accurate within 1 thousandths of an inch.
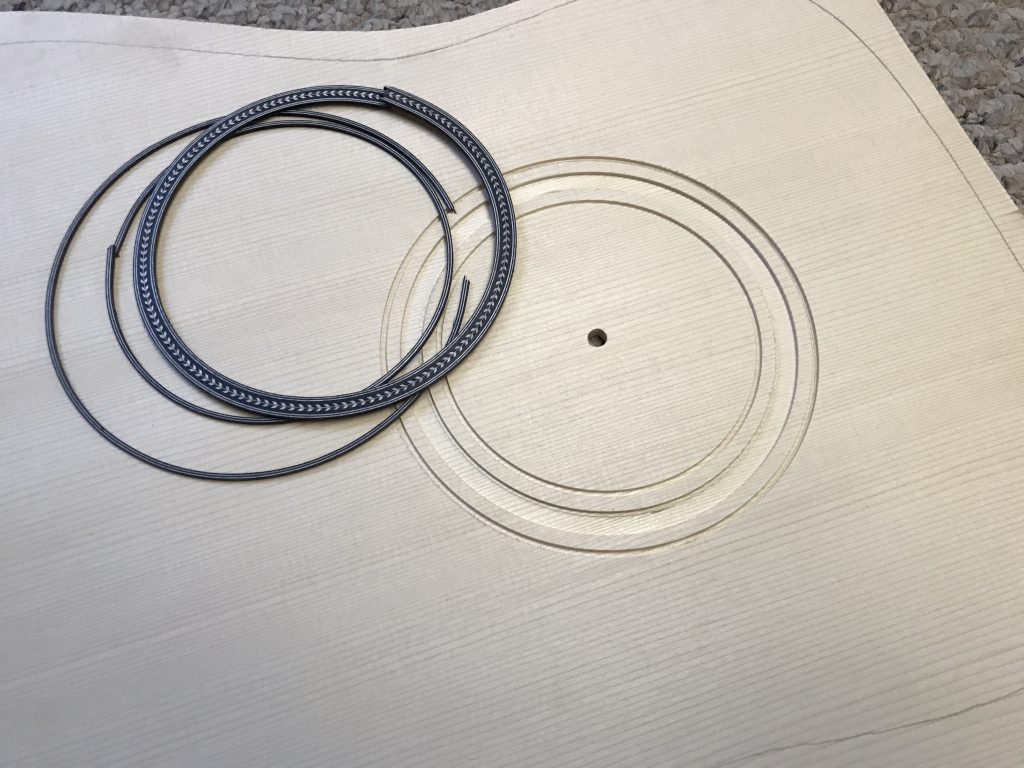
Ready for glue.
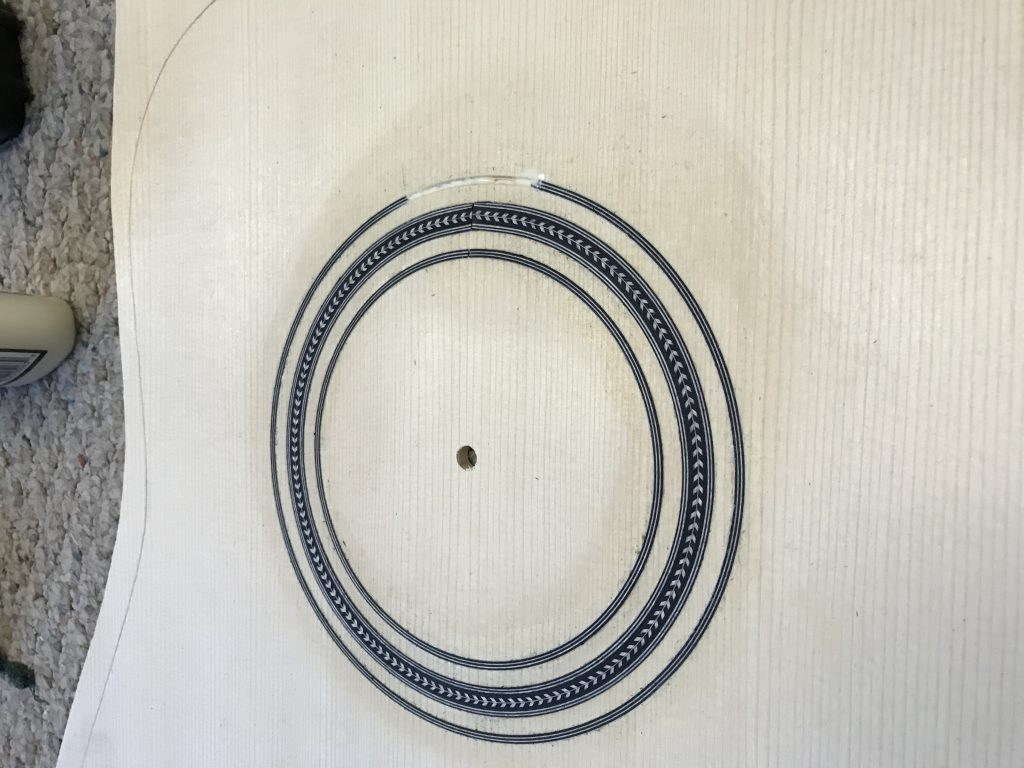
Completely installed at this point, with glue. I use a damp rag to remove any remaining wet glue. Its a small thing, but when I’m taking the top down to the final desired thickness, its turns out to be critical. If the excess glue is still smearing in the thickness sander, you will be forced to take the top a little thinner than intended. Not cool.
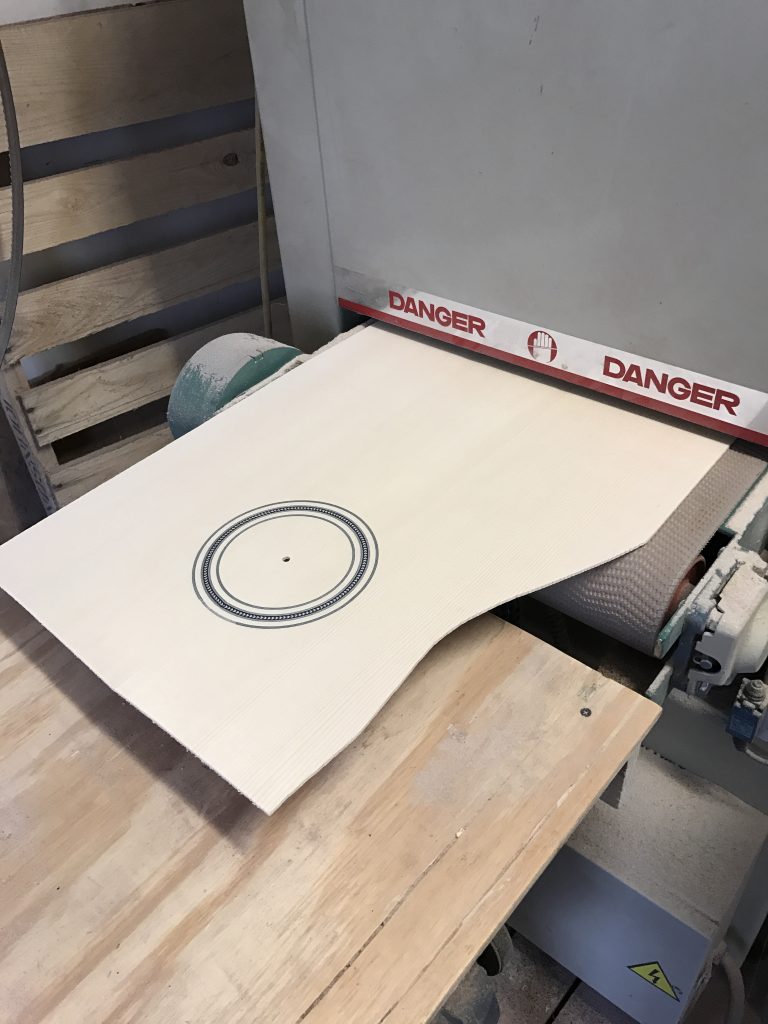
Just having passed though the thickness sander. I’m taking this top down a little thinner than normal. Its my guitar! I’m making it a HOT ROD!
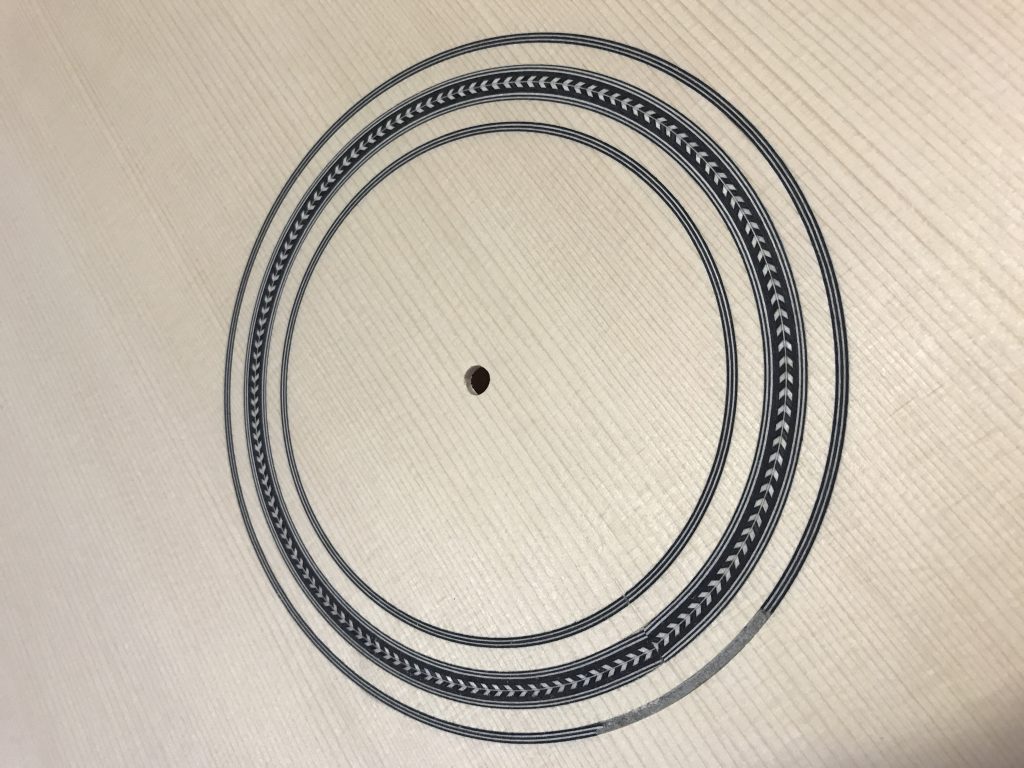
Perfectly flush with the Spruce. Beautiful
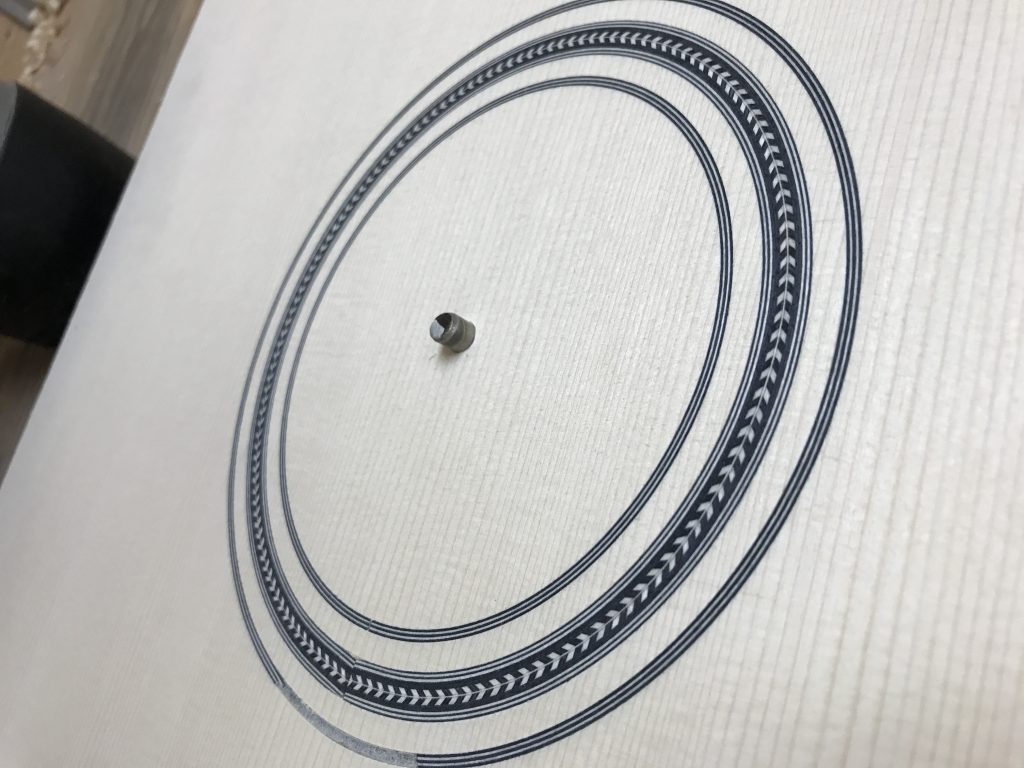
Next up, I will cut the sound hole. As you can see here, the 1/4″ hole is used not only as an index for the rosette cutter head, but also as an index for the router in the processing of cutting the sound hole.
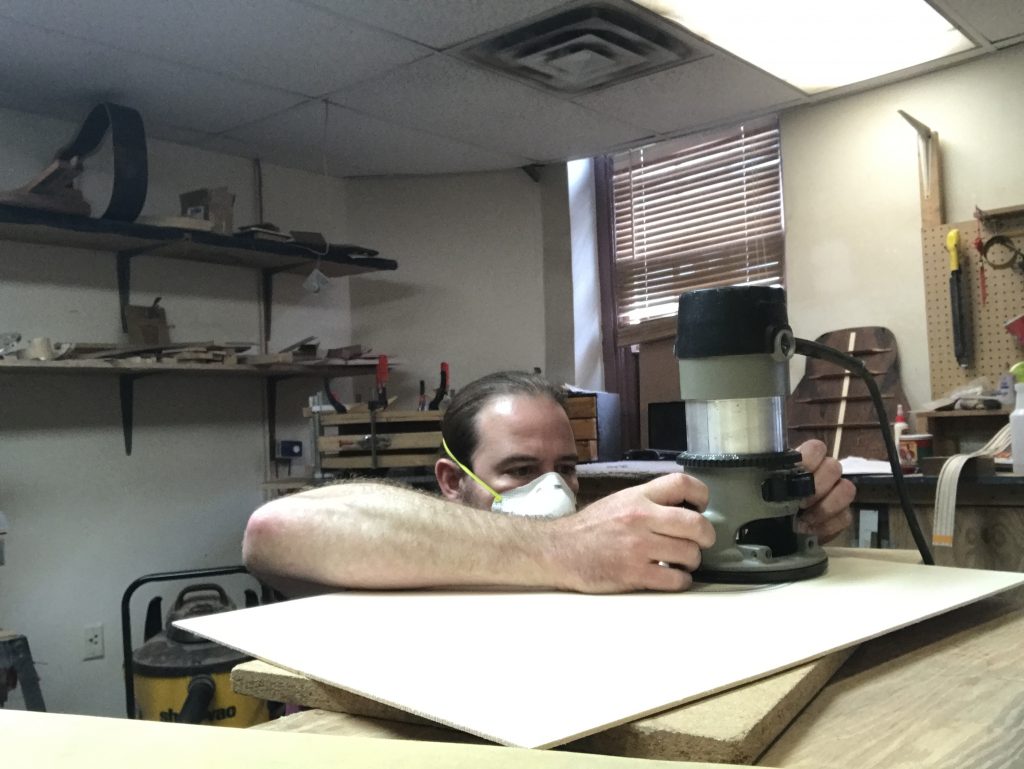
Pretty simple really. Its a 4″ circle. The only trick here is to not allow anything to move as the final bit of wood is cut.
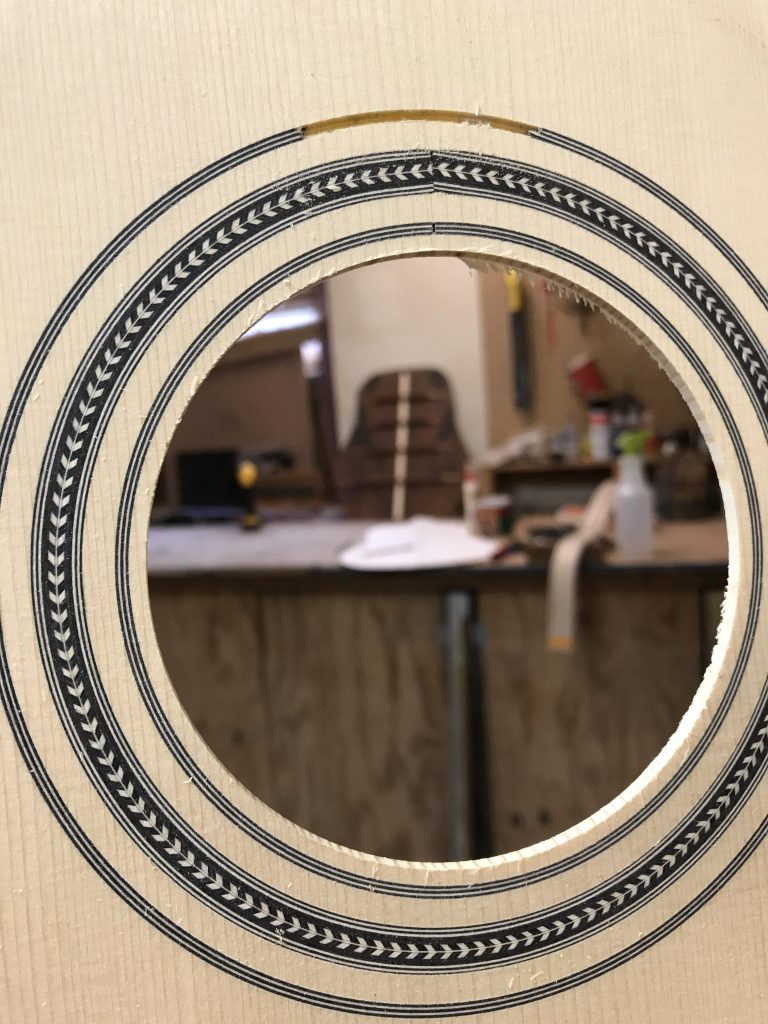
I like this photo a lot. This Red Spruce is simply amazing, but its really hard to stop looking at that Brazilian Rosewood back!
